Install MAMP to mac silicon (with brew) – php 7.2/8 with imagick – 2023
upd.: 23.06.2023
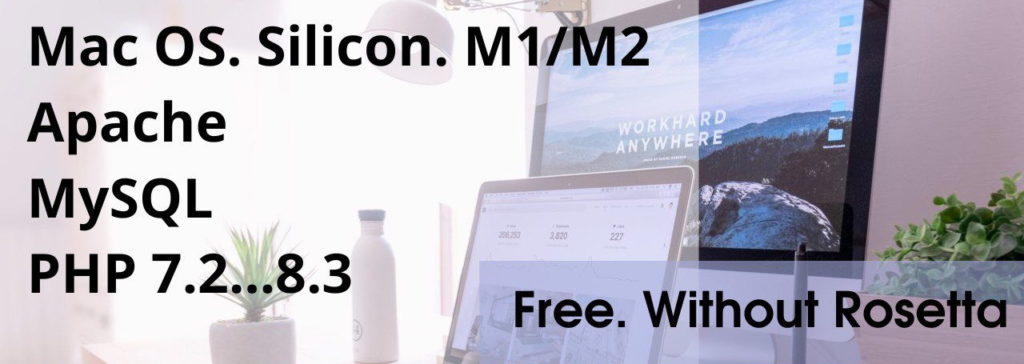
Hello! This post will be helpful, how to create Mac – Apache – MySQL – PHP server for Apple Mac Silicon M1/M2 with ImageMagic extension for `PHP any version 5.6/7.0/7.1/7.2/7.4/8.0.
This solution is free and faster and suitable for everyone, without Rosetta.
In addition, I will provide a script to quickly create local sites. All this will help you conveniently develop your local sites.
So, Let’s Go 🙂
1. Install apache2 with homebrew
brew install httpd
Configuration apache2
Open /opt/homebrew/etc/httpd/httpd.conf
Find:
Replace to:
Now we have php 7.2 version.
Next, make sure that the following is written or edit for yourself:
If you notice, we use 8080 port, that is address your site is: http://yoursite.loc:8080. We use this port so that apache2 brew does not conflict with apache2 custom.
You can use standard files config, but I want to show another architecture to your sites. (read about it below in the next heading)
Command to restart/stop Apache2:
2. Your local sites architecture
Create MAMP folder to your home directory. My home directory is “/Users/sergey”. The MAMP folder presentation is:
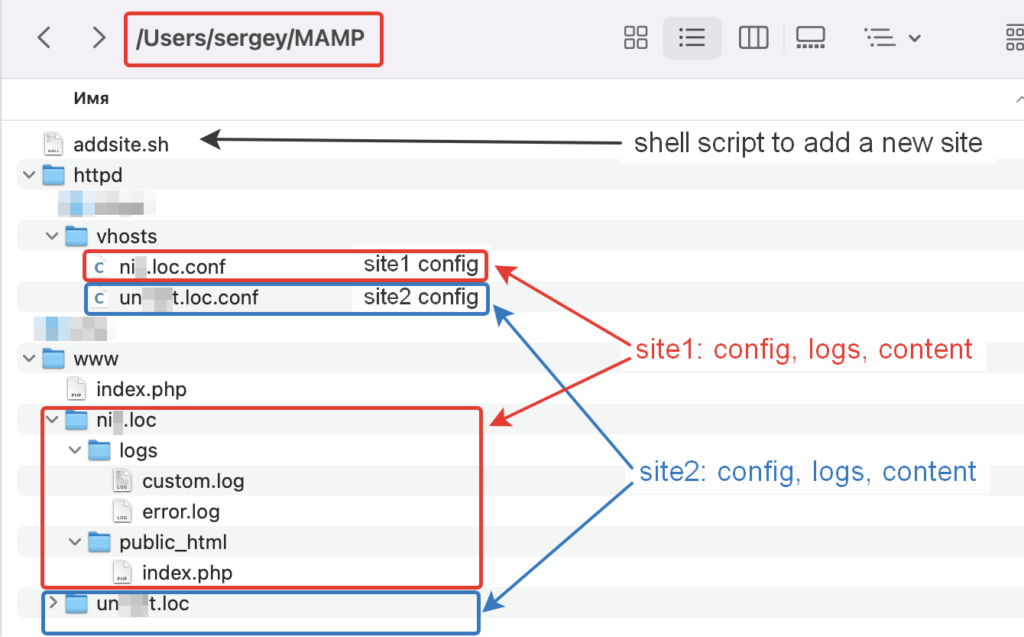
addsite.sh content:
Install PHP with homebrew
First remove all php version and ImageMagick
Install pkg-config
Install php version wich you need. I will install 7.2. You can install any: 5.6/7.0/7.1/7.2/7.3/7.4/8.0/8.1/8.2. We will use the following library: shivammathur/php
Open /Users/YOUR_NAME/.zshrc file:
Just in case, make sure this file contains:
Apply changes in .zshrc
Edit php.ini
You can append follow lines to the end php.ini or edit line to line.
php.ini path is: /opt/homebrew/etc/php/7.2/php.ini. My config is:
Install ImageMagick
Now, if you use the following command:
To restart php and apache2 execute follow:
To view a list of running brew processes :
Install Mysql
With brew you can choose version. I need 5.7 version:
If you want to find where does mysql installed in system, use the following command:
to enter to mysql (if mysql already installed):
MySQL config
To know, where is you can place config mysql file, execute terminal command:
and you will find, if you scroll down a few screen:
So, you can create /opt/homebrew/etc/my.cnf and write into it:
Install PhpMyAdmin
After that you can see the following lines that have been added to /opt/homebrew/etc/httpd/httpd.conf:
PhpMyAdminConfig
We can change timeout in config file:
/opt/homebrew/Cellar/phpmyadmin/5.2.0/share/phpmyadmin/libraries/config.default.php
from $cfg[‘ExecTimeLimit’] = 300; to $cfg[‘ExecTimeLimit’] = 0;
It takes no limit time authorization.
Apache2 default
Most likely, you have already using Apache2. You can check it in your browser: http://localhost
Most likely you will see: It works!!!
httpd.conf located at: /private/etc/apache2/httpd.conf
index.html, with content “It works!!!” located at: /Library/WebServer/Documents/index.html.en
Command for stop and start default apache:
References:
- https://stackoverflow.com/questions/50060021/homebrew-install-new-formula-php72-imagick
- https://stackoverflow.com/questions/70237219/how-to-install-php-7-2-on-macos-big-sur-using-homebrew
- https://bazarow.ru/blog-note/9311/